In this post, I will show you a step-by-step guide to initial deploy a VxRail cluster.
Deploying a VxRail cluster for the first time can seem daunting, but with this step-by-step guide, you'll be able to set up your environment smoothly. Follow these instructions to get your VxRail cluster up and running.
Step 1: Prepare Your VxRail Configuration Prerequisites
Prepare your VxRail configuration prerequisites using the provided Excel sheet. Make any necessary edits to ensure all required information is accurately filled out.
Step 2: Configure the Top-of-Rack Switches
Configure the top-of-rack (TOR) switches, Check VxRail TOR Configuration Guide.
Step 3: Create VxRail DNS Records
Create the necessary VxRail DNS and PTR records on an external DNS server.
| Name | DNS Record |
|---|---|
| VxRail Nodes (depending on the number of nodes) | vxnode-01, vxnode-02, … |
| vCenter | vcenter |
| VxRail Manager | vxrail |
| VxInsight | vxinsight |
| OMNI server (if exists) | omni |
| PSC server (depricated after VxRail v4.7) | pscserver |
Step 4: Reimage VxRail Nodes
If the VxRail is old version, reimage the VxRail nodes to the latest version. Check VxRail NIM Tool Guide.
Step 5: Change VxRail Manager IP
Change the VxRail Manager IP to the IP specified in the prerequisites Excel sheet. Check How to Customize the VxRail Initial IP Address.
Step 6: Access VxRail Manager
On the jump host’s browser, navigate to https://<VxRail_Manager_IP> to connect to VxRail Manager.
Step 7: Initial Setup
Complete the following sub-steps for the initial setup:
- The "Welcome to VxRail" screen will appear. Click "GET STARTED".
- On the “EULA” page, review the terms provided. If you agree, check the "ACCEPT" box and click "NEXT".
- On the “Cluster Type” page, select the Standard Cluster (3 or more hosts) option and click "NEXT".
- On the “Discover Resources” page, wait for all the VxRail hosts in the rack to be discovered.
Discovery may take about 5 minutes. If necessary, click the Refresh icon to refresh the Hosts section or the Top-of-Rack Switch section as needed.{alertInfo}
- After all the VxRail nodes and the SmartFabric switch cluster are discovered. Click "NEXT".
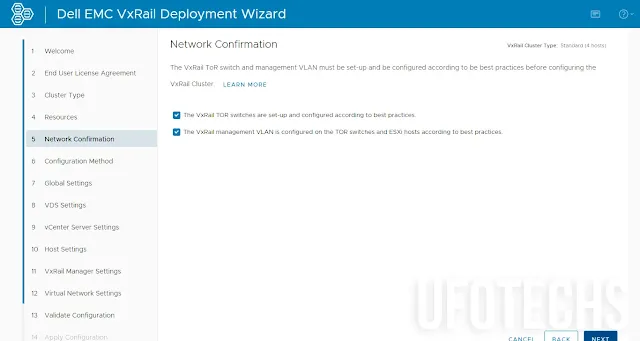
- On the “Network Confirmation” page, confirm that you have configured the TOR switches, VxRail management VLAN, and ESXi hosts according to best practices. Click "NEXT".
- Select your preferred configuration method: Step-by-step user input or Upload a configuration file, then click "NEXT".
A JSON configuration file may be used if you have saved one from a previous installation using the same versions of VxRail and SmartFabric OS10. If you do not have a configuration file, select Step-by-step user input.{alertInfo}
- On the “Global Setting” page, configure system settings such as the NIC configuration, vCenter type, DNS, and NTP servers. Click "NEXT".
- On the “VDS Settings” page, provide the VDS configuration settings that will be applied to the hosts in the VxRail cluster. Click "NEXT".
- On the “vCenter Server Settings” page, set the internally hosted vCenter host name, IP address, and administrative credentials. Then click "NEXT".
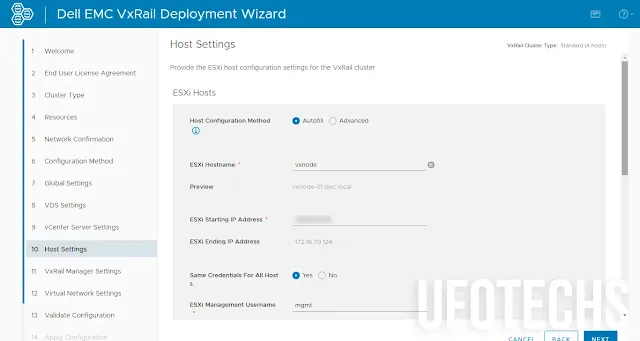
- On the “Host Settings” page, set the ESXi hosts’ hostnames, IP addresses, administrative credentials, and physical location (optionally). Then click "NEXT".
- On the “VxRail Manager Settings” page, set the VxRail Manager host name, IP address, and administrative credentials. Then click "NEXT".
- On the “Virtual Network Settings” page, set the configuration of the VxRail Management Network, vSAN, vMotion, and Guest VMs. Click "NEXT".
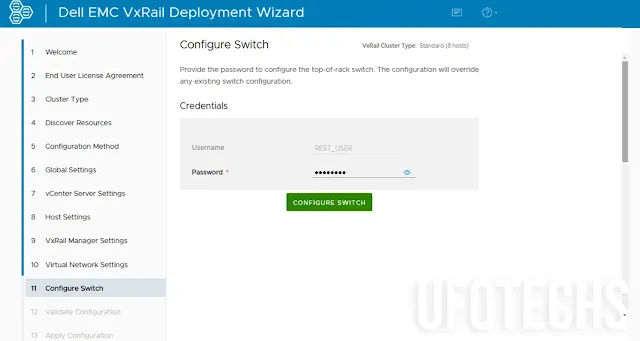
- On the “Configure Switch” page (if exists), enter the default REST_USER password “admin”, and click "CONFIGURE SWITCH".
The REST_USER account is used by VxRail and OMNI to configure the TOR switches.{alertInfo}
- The REST_USER Change will prompt you to change the default password. Enter and confirm a new password, then click "OK". The switch configuration will be updated, and a success message will be displayed. Click "NEXT" to continue.
Before the configuration validation, please verify the switch configuration at the CLI with the [
show virtual-network] command{alertWarning}. - On the “Validate Configuration” page, click "Validate Configuration" button to ensure everything is properly configured before applying the configuration and start building the cluster.
- After validation passes successfully, download the JSON file by clicking "Download Configuration File". Then click "NEXT".
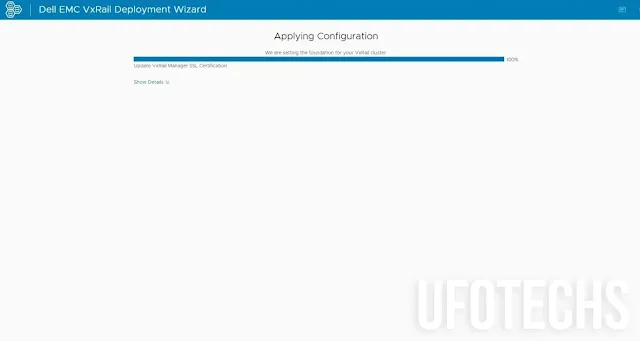
- Now we are ready to begin the VxRail Cluster Deployment. Click "Apply Configuration" to deploy your environment.
Step 8: Launch vCenter
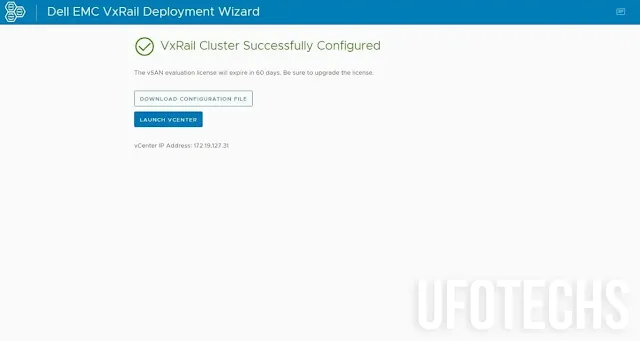
The VxRail Cluster will be successfully configured. The process takes approximately from 30 to 60 minutes. Once completed, you are ready to begin using VxRail. Click "Launch vCenter".
With these steps, your VxRail cluster should be up and running, allowing you to take full advantage of its capabilities.


